
Step 1:
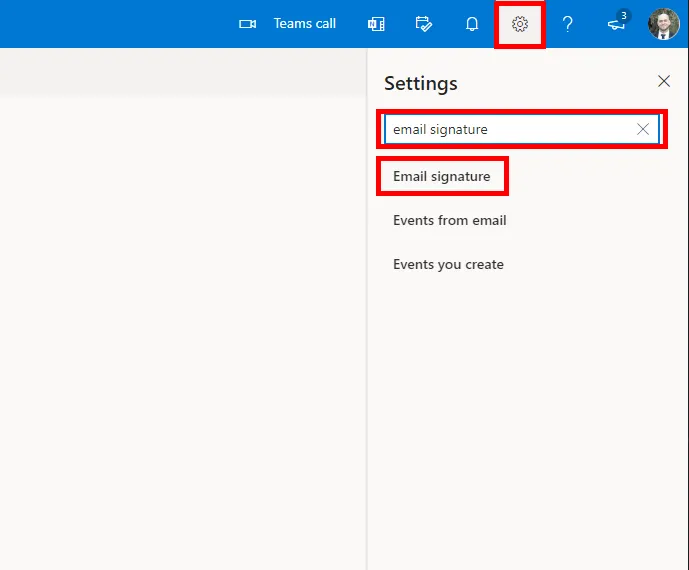
Once you are ready to set up your email signature, log into your Office 365 email account using a web browser. At the top right, click the settings icon. In the search section, type in “Email Signature” and click on the first result.
Step 2:
You will then see the Email Signature section in the middle of the screen. Type in a name for your signature (if there isn’t already one), and then paste your new or updated email signature in the text box provided. Select the default signature to use for new messages and replies/forwards.

Step 3:
Scroll down to the Message Format section. Check that “Compose messages in” is set to “HTML” and not “Plain Text”.
Click Save at the bottom of the page.

Click to compose a new email and see your new signature in action!